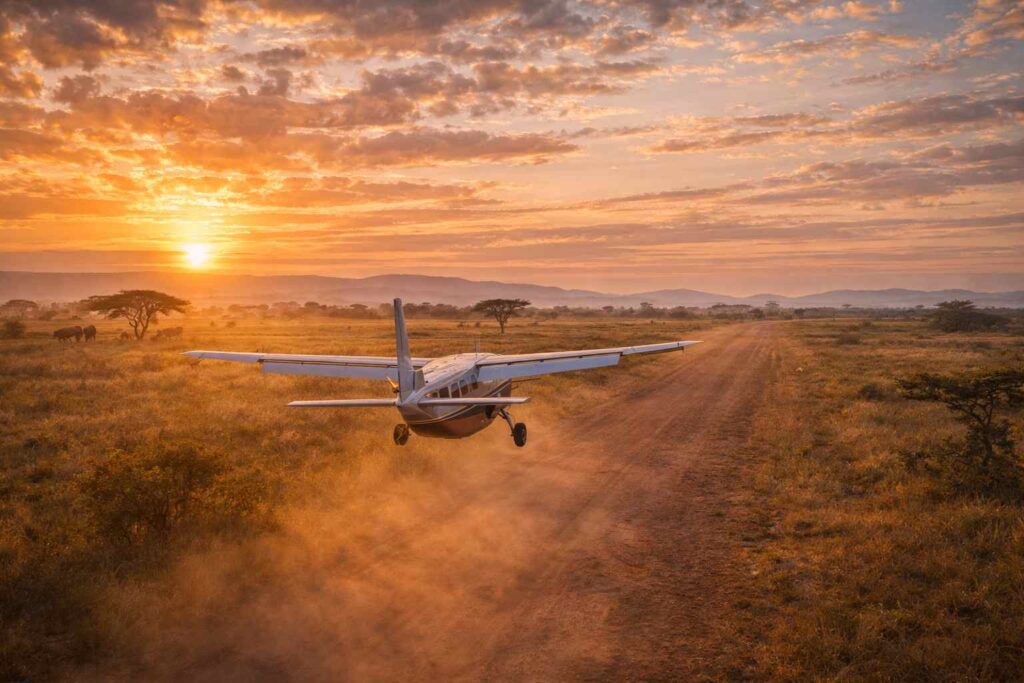
Photographing wildlife in Madikwe Game Reserve is a deeply rewarding experience. With sprawling plains, abundant big cats, rare wild dogs, and dramatic landscapes, Madikwe in South Africa offers unique visual stories waiting to be captured. Whether you’re a beginner eager to improve your safari shots or an experienced pro refining your craft, this guide pulls practical techniques, best vantage points, and ideal gear together with tips from seasoned wildlife photographers. Let’s dive into how you can elevate your Madikwe photography.
Why Madikwe Is a Photographer’s Paradise
Madikwe’s remote location along the Botswana border gives it rich wildlife densities with fewer vehicles than many other South African reserves. Here, photographers can enjoy:
- Big cat sightings including lion and leopard
- Regular wild dog packs and rare sightings
- Elephants, giraffes, and iconic plains species
- Dramatic early morning and golden hour light
- Spacious open terrain that accommodates creative framing
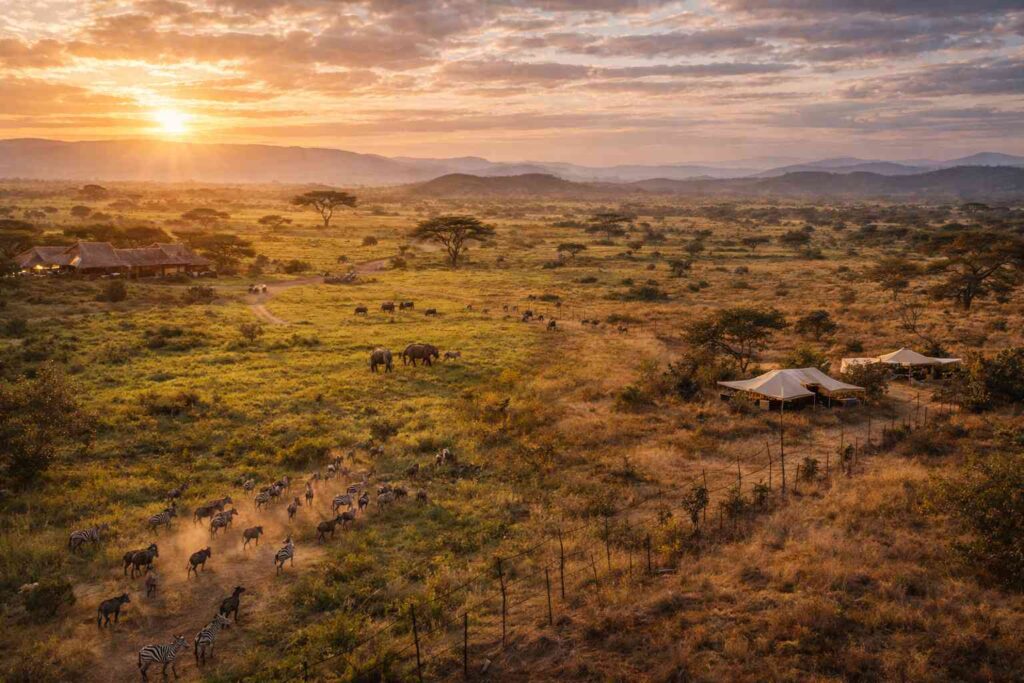
The diversity of ecosystems — from woodlands to open savannah — offers varied backdrops that enhance storytelling in your images.
Planning Your Photography Safari
Choose the Right Season
Madikwe experiences subtle seasonal changes that affect photographic opportunities:
Dry season (May–September):
Vegetation thins, water holes draw wildlife, and the golden dry grass offers warm tones. This is considered peak photographic season.
Wet season (October–April):
Lush landscapes and newborns add dynamic elements, but animals can be more dispersed.
Plan your visit around your goals — dramatic light and animal concentration or verdant landscapes and migratory behavior.
Best Times of Day for Capturing Wildlife
Light is everything in wildlife photography.
Early Morning Light
Birdsong, misty atmospheres, and animals active before heat build‑up make early morning drives ideal. The soft directional light highlights texture and shape — perfect for portraits of big cats lounging or stalking.
Golden Hour
Late afternoon light, just before sunset, bathes scenes in warm tones. It grants backlight and rim light for silhouettes against amber grasses — a favorite for storytelling frames.
Midday Strategy
When the sun is harsh, focus on:
- Close‑up details (eyes, fur texture, behaviors)
- Shade compositions (trees filtering light)
- Abstract or black‑and‑white compositions
Embrace the challenge — but use shadow and contrast to your advantage.
Gear Guide: What to Bring to Madikwe
Lenses
Wildlife photography thrives on reach. Recommended focal lengths:
- 400–600mm (or 100–400mm zoom): Essential for big cats, birds, and distant subjects
- 70–200mm: Great secondary lens for environmental and portrait shots
- Wide angles (16–35mm): For dramatic landscapes and vehicle interior shots with animals
Camera Bodies
Fast autofocus and high ISO performance help you adapt to changing light and erratic wildlife movement. Mirrorless systems with animal eye‑AF or advanced tracking deliver significant advantages.
Accessories
- Teleconverter(s): Extend reach without switching lenses
- Bean bag: For stable shots from safari vehicles
- Polarizing filter: Great for skies and reducing glare
- Extra batteries & cards: Remote safaris mean long days
Comfort and Protection
Dust covers for gear, lens cloths, and weather‑sealed equipment help with dusty ridgetops and early dew.
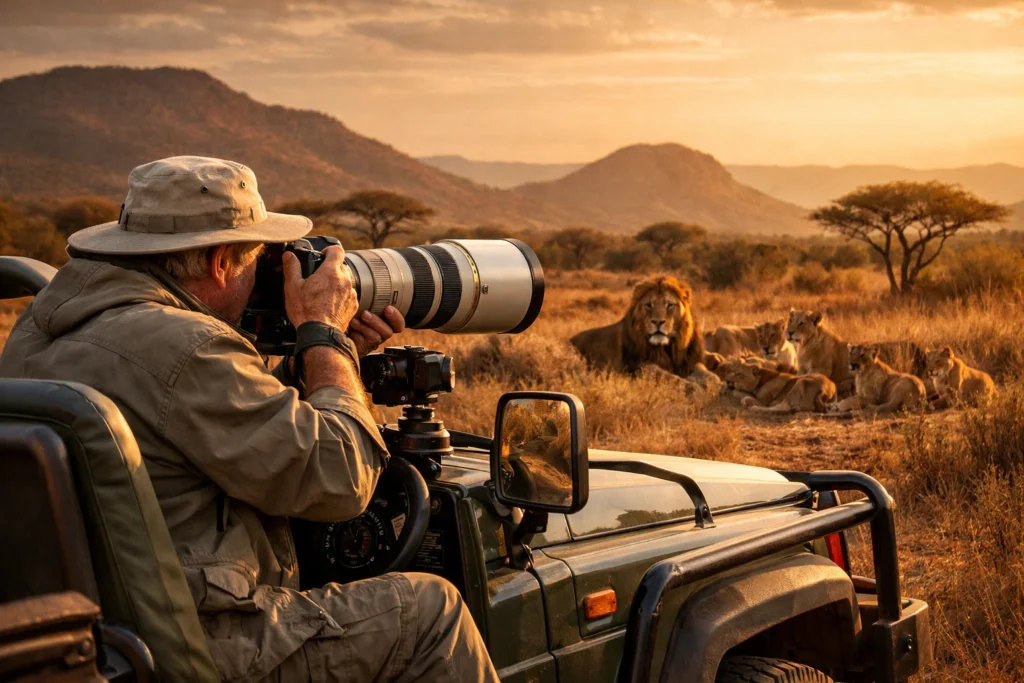
Safari Vehicle Techniques
Use the Vehicle as a Stable Platform
The safari vehicle is your mobile studio. Use the roof hatch, window, and bean bag strategically:
- Bean bag on roof or window ledge: Stabilizes heavy zoom shots
- Shoot through open windows: Avoid shooting through glass and reflections
Make smooth panning movements with the vehicle’s motion to follow animals fluidly.
Anticipate Behavior
Experienced guides can predict actions — prepare for moments of:
- Stalking and crouching
- Collective behavior like play or hunt
- Direction changes toward water
Keep your camera powered on and ready with your finger near the shutter release.
Composition Tips for Wildlife Storytelling
Good composition transforms a photo from documentation to art.
Rule of Thirds and Eye Line
Place the subject’s eyes or key action along third lines. Animals looking into the frame’s open space create tension and direction.
Negative Space
Use empty foreground or sky to isolate your subject and create mood — especially with solitary species like leopard or vultures in flight.
Environmental Context
Capture animals in their habitat:
- Elephants moving across plains
- Giraffes silhouetted against koppies
- Birds nestled among leaves
This strengthens the narrative beyond just animal portraits.
Best Spots in Madikwe for Photography
Madikwe has excellent photographic opportunities across the reserve. Some spots and scenarios to prioritize:
Watering Holes
During dry months, animals converge here for hydration. Here you’ll find interactions between herbivores and predators.
Riverbeds and Dry Washes
These natural corridors attract wildlife. The contrast between arid riverbeds and lush banks add visual interest.
Ridge Lines at Dawn
High ground at sunrise allows expansive views. Use foreground shrubs or termite mounds to give depth to your landscapes.
Thick Bush and Woodland Edges
For bird photographers and macro enthusiasts, woodland edges deliver intricate portraits and interesting light patterns.
Mastering Light in Madikwe
Backlighting for Drama
Backlight can highlight dust particles and create rim lighting on fur and feathers. Expose carefully to retain detail.
Side Light for Texture
Side light at low angles sculpts form, revealing muscle definition, wing feathers, and terrain textures.
Silhouettes at Sunset
Silhouettes tell a minimal and powerful story if you expose for the vibrant sky while retaining dark subject shape.
Common Challenges and How to Overcome Them
Heat Haze
Rising heat causes distortion, especially mid‑day. To mitigate:
- Shoot in shade
- Use higher shutter speed
- Change angles to avoid direct heat shimmer
Obstructions (Brush, Trees, Vehicles)
Stay patient. Slight repositioning by your guide often reveals clear angles.
Fast‑Moving Subjects
Use continuous autofocus, wide tracking area, and burst mode to increase your chance of sharp action shots.
Reviewing and Learning in the Field
At day’s end, review key frames with guides:
- What worked and why
- Behavior patterns you noticed
- Light conditions and composition adjustments
Learning in the environment helps refine your eye for the next session.
Conclusion
Photographing Madikwe Game Reserve is more than clicking a shutter; it’s about anticipation, respect for wildlife behavior, and a creative vision that connects subject and environment. With intentional planning, the right gear, and a photographer’s mindset tuned to light and story, your safari imagery will reflect the vibrant soul of this stunning wilderness.
Ready to pack your gear and explore more African photographic gems? Dive deeper into our safari guides and start planning your next visual adventure.
Frequently Asked Questions (FAQs)
Start with fast shutter speeds (1/1000s+), ISO adjusted for light, and continuous autofocus. Experiment with aperture for background blur.
Only change lenses in shade with minimal dust. Use a lens cloth and keep cameras inverted to avoid dust entering the body.
Absolutely — with patience, timing, and focus on behavior and light, beginners can capture stunning images.
Yes. A guide with photography experience can help position vehicles and predict animal actions for better shots.
Warm layers, waterproof jacket, binoculars, snacks, water, spare batteries, memory cards, and your camera essentials.
Balance versatility and comfort. A long telephoto and one mid‑range zoom typically cover most scenarios without overwhelming you.
RAW is recommended — it retains maximum detail and flexibility for post‑processing.
Use faster lenses (300mm+), high burst rates, and focus on eye detection or manual focus for tiny subjects.